These areas are blank canvases waiting for personal expression. With a little paint and some sheets of wallpaper or another type of decorative trim, this empty, unused space can be transformed into a visually appealing surprise.
You'll need paint, a brush, and either wallpaper, adhesive tiles, or decals. You'll also need wallpaper paste if your wallpaper type requires it. Having scissors or a utility knife on hand can be helpful for trimming materials. With just a few hours of your time, you can add a touch of style, whether it's classic or unconventional, busy or elegant. Give this often-overlooked spot a makeover, and you'll be searching for other quiet areas around the house to give some personality.
15 Alternative Cleaning Solutions That Still Get the Job Done
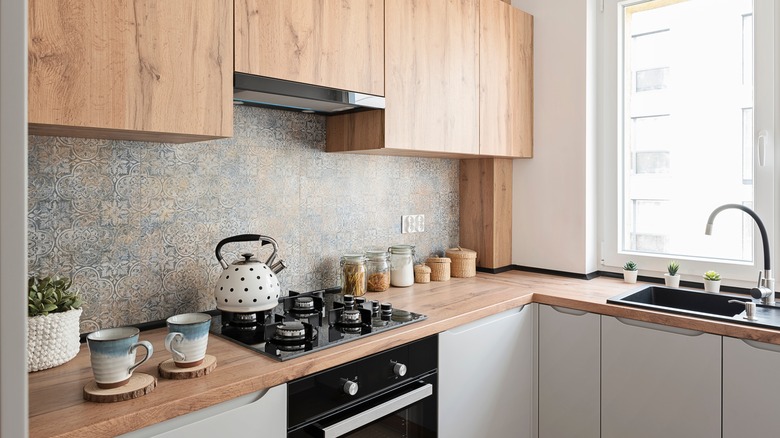
Wallpaper Becomes Cabinet Paper
If you're a beginner at applying wallpaper and come across a design that requires using a separate adhesive, don't let that intimidate you. Both types of wallpaper have their own set of challenges and benefits, despite the extra step of applying a glue.
First, give the underside of the cabinets a good scrubbing to help the paint or wallpaper stick properly. Next, paint the edges that stick out from the underside of the cabinets. Once the paint is no longer sticky, measure the underside of each cabinet. Even if they look the same, take the time to measure each one individually, as they might be slightly different. Mark and cut the wallpaper sheets to match each underside. Remove the backing from the paper or apply glue, whichever your paper requires. For either type of paper, smooth it out from one end to the other, making sure to press out any air bubbles as you go. Wait for the adhesive to cure or dry, and then you'll be ready to enjoy your newly finished look!
Wall Decals in a Stylish Stick-On Design
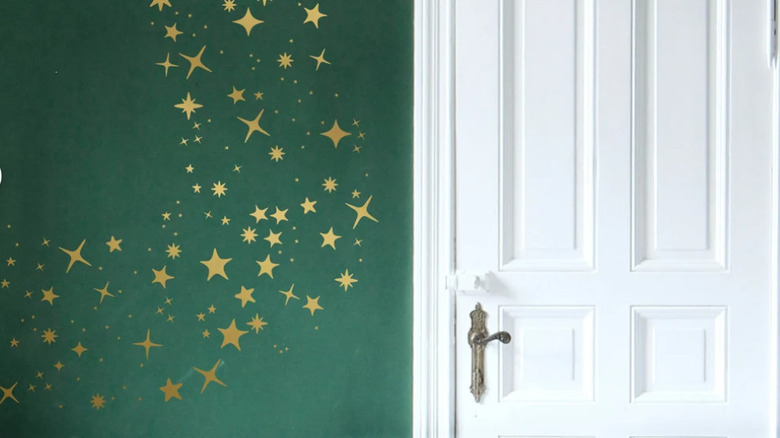
These tiles are affordable and charming. These tiles are made of plastic, and you can cut them to fit the spaces with either a fine-toothed saw or a utility knife, depending on how thick the plastic is. To add decals to the under-side of the cabinets, it's best to paint the base of the cabinets first, since the color will show through the design.
You can also use the adhesive to fill in gaps and even out decals. To ensure a smooth finish, smooth out air bubbles as you press each sheet firmly on the cabinet. For stick-on tiles, measure and cut them first before attaching them to the cabinet. As you apply each tile, hold it in place for a few seconds to let it bond. Step back and enjoy your newly renovated space!
.